Have you already updated your device to the version iOS4 and want to unlock your 3GS? Firstly there was Redsn0w, now PwnageTool is available, which can easily help you. Here is for jailbreaking iPhone 3GS (old bootrom). Warning: this is not an official release and therefore may be some bugs that can destroy your device or delete some important information. So be careful while using it!
Sn0wBreeze 2.9.7(supports tethered jailbreak of iOS 6.0.1 for iPhone 4, iPhone 3GS, iPod Touch 4G)
Sn0wBreeze 2.9.6(pwnagetool for windows, supports untethered jailbreak of iOS 5.1.1 for iPhone 4, iPhone 3GS, iPod Touch 3G, iPod Touch 4G, iPad and Apple TV 2G)
Sn0wBreeze 2.9.3(pwnagetool for windows, supports tethered jailbreak of iOS 5.1 for iPhone 4, iPhone 3GS, iPod Touch 3G, iPod Touch 4G, iPad; untethered for iPhone 3GS with old bootrom; untethered for iOS 5.0.1, iOS 4, iOS 3 supports Apple TV 2G)
Sn0wBreeze 2.8b11(pwnagetool for windows, supports iOS 5, iOS 5.0.1, tethered jailbreak for iPhone 4, iPhone 3GS, iPod Touch 3G, iPod Touch 4G, iPad, Apple TV 2G; untethered for iPhone 3GS with old bootrom)
UltraSn0w Current version is ultrasn0w 1.2.3, download in Cydia(unlock for iPhone 4, iPhone 3GS, iPhone 3G, firmwares 3.0-4.3.3; it supports basebands 01.59.00, 04.26.08, 05.11.07, 05.12.01, 05.13.04, 06.15.00)
Thanks to and the porting work of as well as the authors of , it is now possible to “tether” your iPhone 3G and use its Internet connection on your laptop.
Warning – Tethering your iPhone is against the iPhone data plan terms. AT&T could slap you with huge fees if you overuse this. I recommend only using it during emergencies.
Here is a basic plan (by the way, this should work for old IPhone also):
Jailbreak your iPhone 3G
Install 3Proxy and Terminal
Create an ad-hoc Wi-fi network using your laptop
Join the network with your iPhone
Find the iPhone’s IP address
Open Terminal and run the proxy program
Open Safari on your iPhone and open a web page
Configure your browser to use the proxy
Later we’ll discuss it with more details.
Step 1: Jailbreak your iPhone
Just download PWNageTool 2.0. Run it and follow the instructions. Make sure to add Cydia, when asked.
Step 2: Install 3Proxy and Terminal
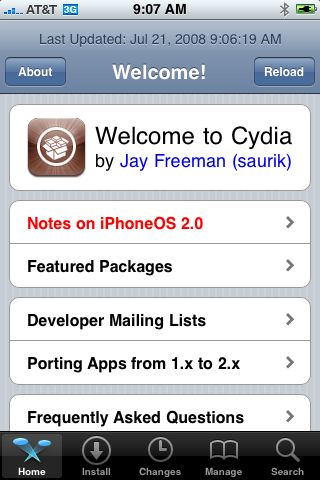
During the jailbreak, Cydia should have appeared on one of your app pages: use it and let Cydia load and self-update.
Then head to Install, All Packages, then find MobileTerminal and 3Proxy (3Proxy is at the bottom). Install both and hit your Home button. Your phone will restart and you’ll see Terminal installed on your home screen. 3Proxy isn’t a GUI app and as such won’t have an icon.
Step 3: Create an ad-hoc Wifi network using your laptop
Using whatever wireless software suite you have, create an ad-hoc network. On a Mac it’s in the Airport menu, under “Create network…”. Name it something inconspicuous. I called mine “baladoux”. On your iPhone, join the ad-hoc network.
Step 4: Find your iPhone’s IP address
Then, hit the blue arrow next to it, and wait for your IP address to show up:
Memorize (or write down) this IP address. You will need it later.
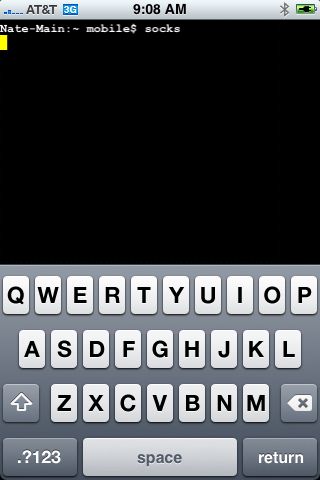
Step 5: Open Terminal and run the proxy program
Simple enough. Open Terminal, type “socks” and hit return.
Nothing will appear to happen, but the SOCKS server will be running. You can hit the home button to push Terminal to the background (remember to terminate it later, by switching back to Terminal and holding the Home button until it closes).
Step 6: Open Safari on the iPhone and open a web page
Any page will do. I recommend http://pwnagetool.ru
This step is important. The page will take a while to load. When Safari realizes it can’t get to the Internet using the ad-hoc Wifi, it will do some internal magic to switch back to 3G for Internet while still on your ad-hoc network. That lets the proxy do its thing.
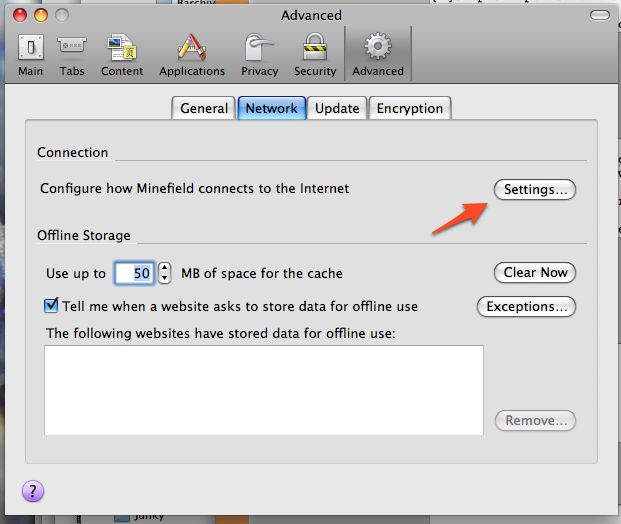
Step 7: Configure your browser
In Firefox, head to Preferences, and under Advanced, Network, hit Settings:
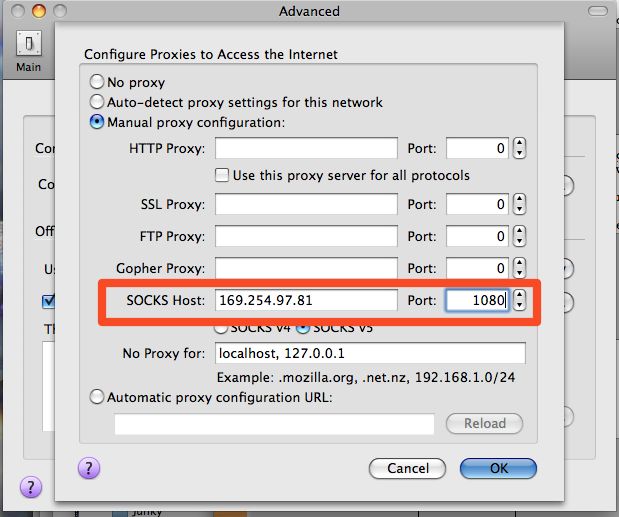
Then, fill in the iPhone’s IP address (which you memorized earlier) into the SOCKS Host field, and put 1080 as the port number. Make sure all other proxy fields are blank and/or 0 as shown:
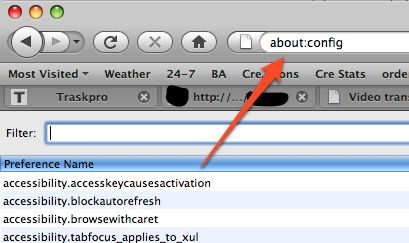
Then, since the proxy doesn’t forward DNS, you will also have to change an advanced option in Firefox. In the Firefox URL bar, enter “about:config” and hit Enter
In Filter, type “socks” and then double-click “network.proxy.socks_remote_dns” to make its value “true”.
That should be all you need! Firefox should be able to browse the Internet through your iPhone’s 3G connection.
Tethering costs a lot of battery life on the iPhone so make sure you have it plugged in. When you’re done, make sure to quit Terminal by opening it back up and pressing and holding the Home button until it quits.


